Ever thought about growing your own mushrooms? Honestly, it’s easier than you might think—no fancy equipment or green thumb required. Whether you’re into gourmet cooking, sustainability, or just love the idea of harvesting something from scratch, home mushroom cultivation is a rewarding (and delicious) hobby. Let’s dive in.
Why Grow Mushrooms at Home?
For starters, store-bought mushrooms can be pricey—especially exotic varieties like shiitake or oyster. Growing your own cuts costs and guarantees freshness. Plus, it’s oddly satisfying to watch fuzzy mycelium transform into edible fungi. And hey, it’s a great conversation starter.
Choosing the Right Mushroom Variety
Not all mushrooms are created equal—some are fussier than others. Beginners should stick to forgiving species:
- Oyster mushrooms: Fast-growing, adaptable, and thrive on coffee grounds or straw.
- Shiitake: A bit slower but rewards patience with rich, umami flavor.
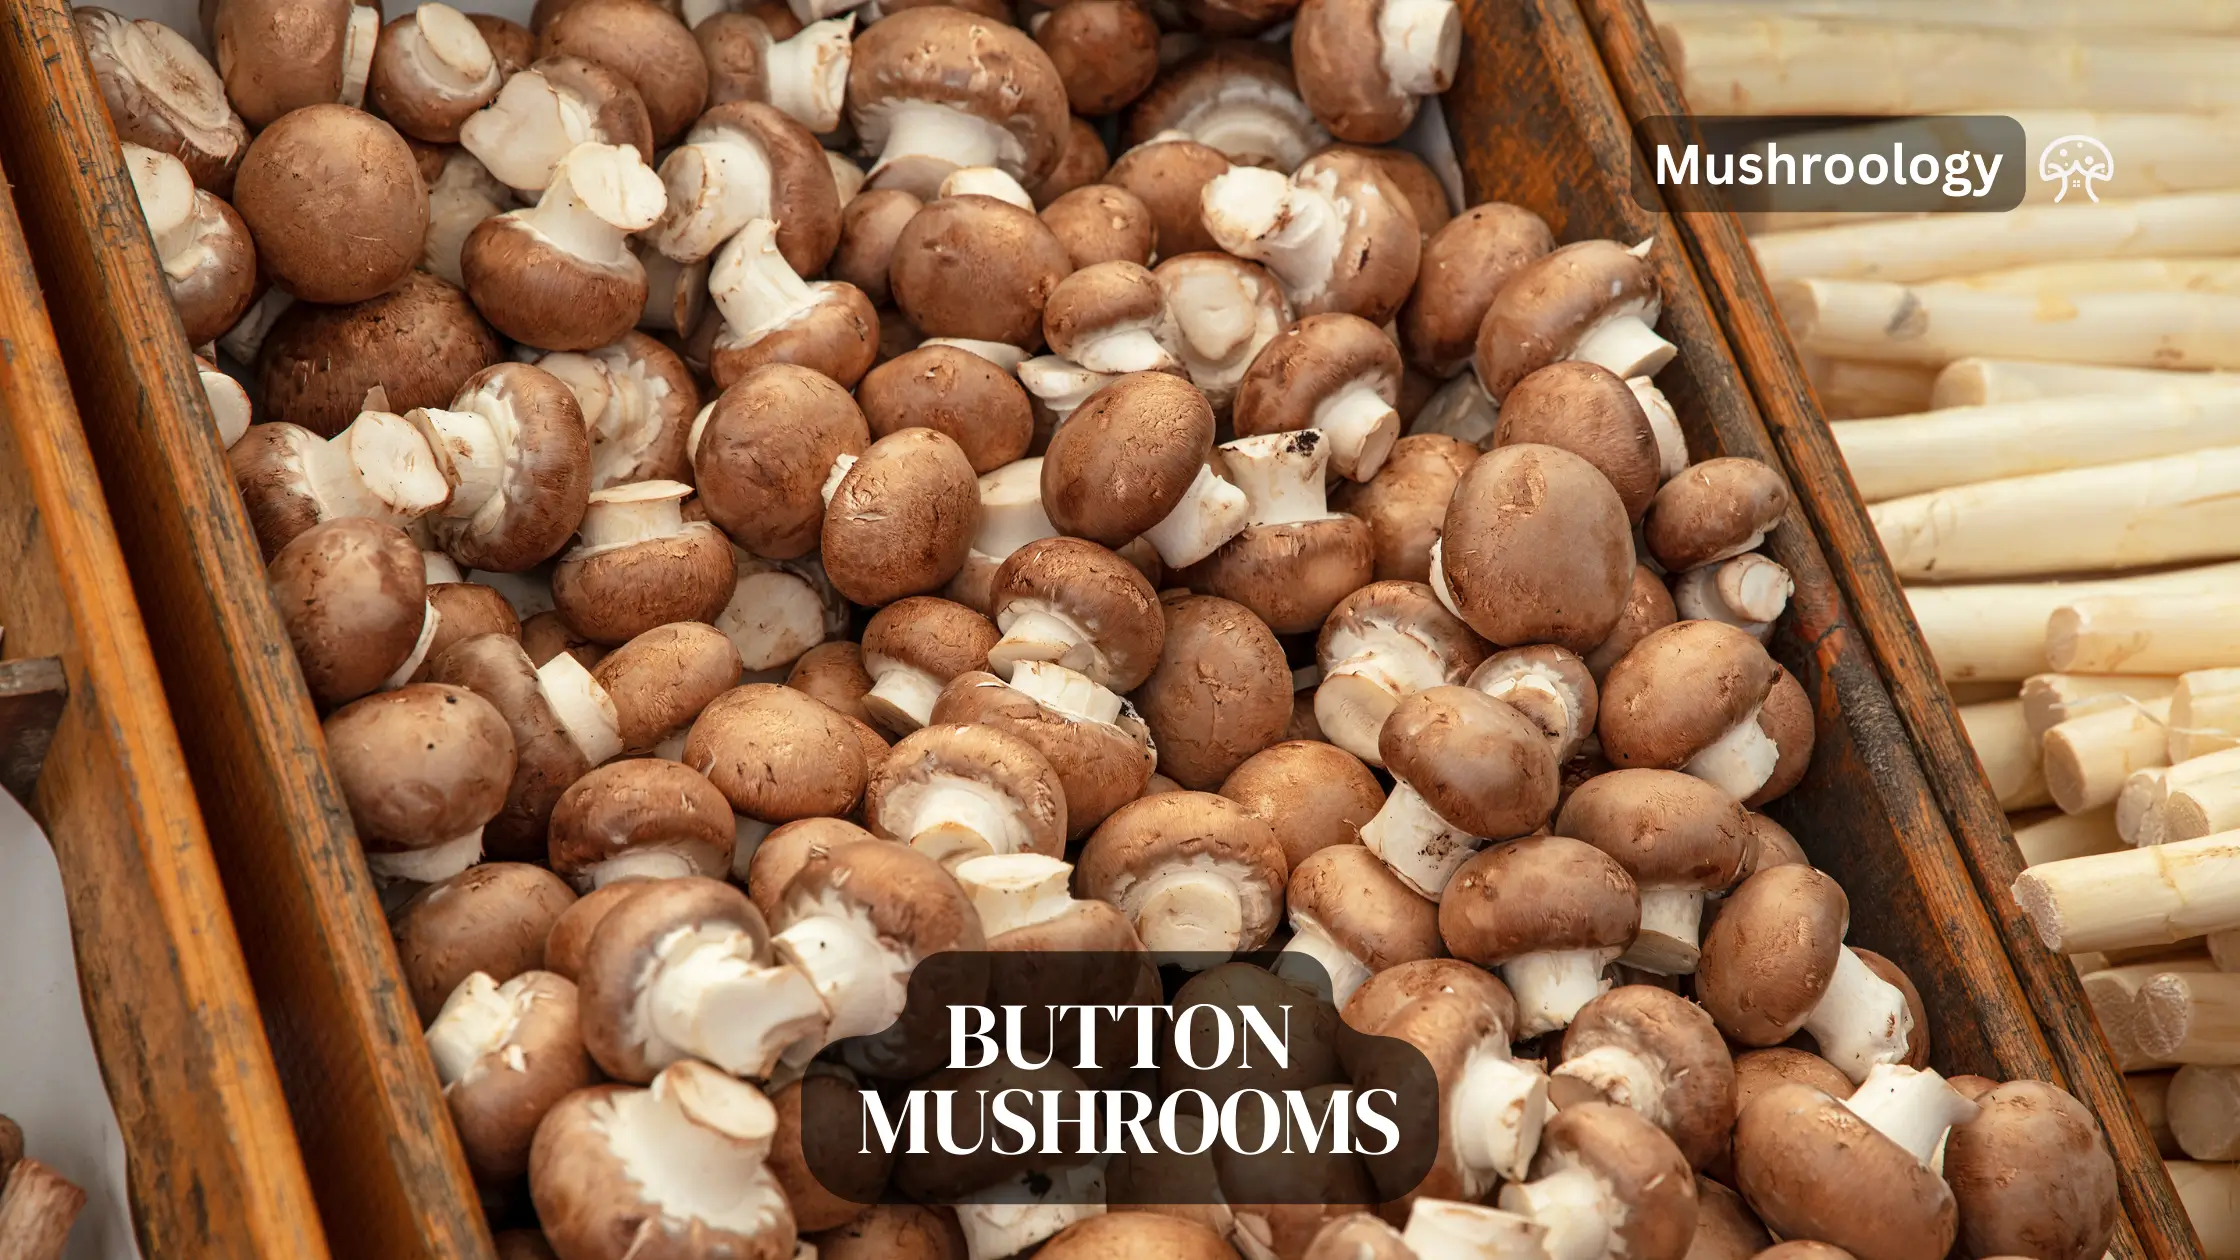
- White button mushrooms: Classic and easy, though they need compost.
Pro tip: Avoid finicky varieties like morels or chanterelles for your first attempt.
Essential Supplies You’ll Need
Here’s the deal—you don’t need a lab setup. Most items are household staples or cheap to buy:
- Substrate (what mushrooms grow on): Straw, coffee grounds, or hardwood sawdust.
- Spores or spawn: Think of these as mushroom “seeds.” Starter kits are beginner-friendly.
- Containers: Plastic bags, buckets, or even old laundry baskets.
- Spray bottle: Mushrooms love humidity.
- Dark, warm space: A closet or basement corner works.
Optional but Helpful Extras
A hygrometer (to measure humidity) and a heating mat can help—but honestly, you can wing it at first.
Step-by-Step Mushroom Growing Process
1. Prepare Your Substrate
Different mushrooms prefer different “food.” Oysters love straw or coffee grounds, while shiitakes need hardwood. Pasteurize your substrate by soaking it in hot water (160°F for 1-2 hours) to kill competing bacteria.
2. Inoculate with Spawn
Mix spawn into your cooled substrate like folding chocolate chips into batter. Pack it into containers—say, a perforated plastic bag—and seal it. This is where the magic (mycelium growth) begins.
3. Incubate in Darkness
Store your containers in a dark spot at 70-75°F. In 2-4 weeks, the mycelium will colonize the substrate, turning it white and fuzzy. Resist peeking too often—contamination loves curiosity.
4. Trigger Fruiting
Once fully colonized, move the bags to indirect light and drop the temperature slightly. Cut slits in the bag and mist daily. Tiny pins will form, then mature into mushrooms in about a week.
5. Harvest and Enjoy
When caps curl upward, twist them off gently. Store fresh mushrooms in paper bags in the fridge—or dry them for long-term use. Some substrates even produce multiple harvests!
Common Mistakes to Avoid
We’ve all been there. Here’s how to sidestep classic blunders:
- Overwatering: Mushrooms need humidity, not puddles.
- Poor sterilization: Unpasteurized substrate invites mold.
- Impatience: Mycelium grows at its own pace—don’t rush it.
Troubleshooting Guide
| Issue | Likely Cause | Fix |
| No growth | Old spawn or cold temps | Check expiration dates; move to warmer spot |
| Green mold | Contaminated substrate | Toss it and sterilize better next time |
| Small mushrooms | Low humidity or CO₂ buildup | Mist more; increase air circulation |
Final Thoughts
Mushroom cultivation is part science, part art—and entirely addictive. Sure, your first batch might not rival a farmers’ market haul, but that’s half the fun. Every spore tells a story. What will yours grow?


